How to File a Roof Insurance Claim After Storm Damage (Step-by-Step Guide)
March 25, 2026
Storm damage is a common problem for property owners across Florida. High winds, heavy rain, hail and flying debris can damage a roof, sometimes causing leaks right away and sometimes leaving hidden structural problems. Filing an insurance claim is often the first step toward repairs, and the process can feel overwhelming if you haven’t done it before. Handling each step correctly helps you avoid delays, get the coverage your policy provides and get repairs done sooner.
Why You Should Act Quickly After a Storm
Check your roof as soon as it is safe after a storm passes. In Florida, ongoing rain and humidity can turn minor damage into leaks, mold and structural deterioration quickly. Insurers also expect you to report damage promptly, and a late claim can sometimes mean reduced coverage or a denial.
Acting fast lets you document the damage accurately, prevent more of it and start the claim while the evidence is fresh. A professional roof inspection helps at this stage because a trained roofer can find damage you can’t see from the ground.
Step 1: Inspect and Document the Damage
Start by assessing the damage. From the ground you may spot obvious problems such as missing shingles or debris, but a professional inspection is more thorough.
Take clear photos and videos of all visible damage, including:
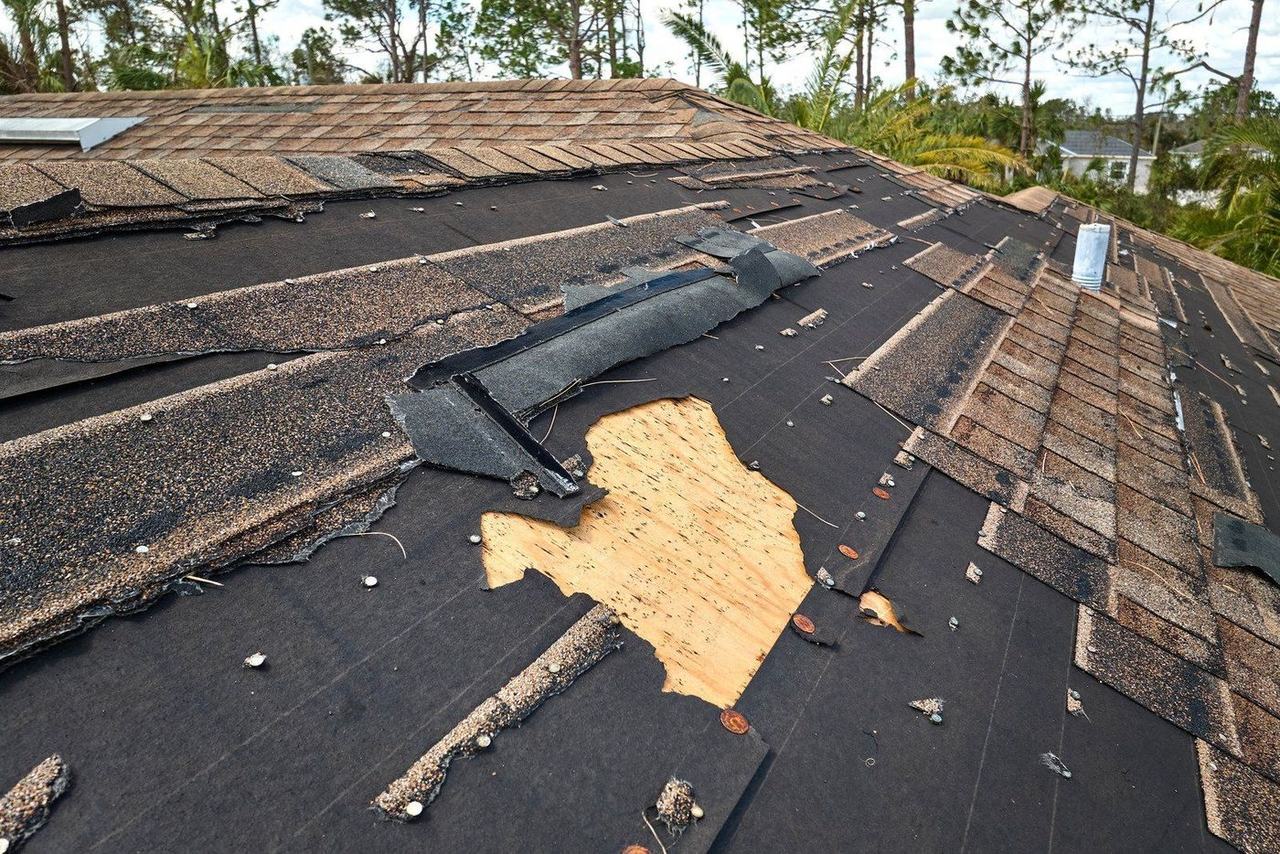
- Missing, cracked or lifted shingles and tiles
- Damaged flashing, vents and gutters
- Debris on the roof and around the property
- Water stains, leaks and wet insulation inside the building
Detailed records give the insurer evidence that the storm caused the damage. Roofing contractors often help with this step and make sure every affected area is recorded.
Step 2: Prevent Further Damage
Policies usually require you to take reasonable steps to prevent more damage after a storm. Covering exposed areas with tarps and clearing debris are common temporary measures.
Treat these as temporary fixes. Hold off on major repairs until the adjuster has inspected the roof, because early work could affect the claim. A roofer can provide emergency service that stabilizes the roof without interfering with the claim.
Step 3: Review Your Insurance Policy
Read your policy before you file. Knowing your coverage sets realistic expectations and tells you which procedures to follow.
Look for:
- What the policy covers for roof damage
- Your deductible, including any separate hurricane deductible
- Deadlines for reporting damage and filing a claim
- Whether the policy pays replacement cost or actual cash value
- Documentation the insurer requires
Florida policies may include specific provisions for hurricane or wind damage. Knowing them in advance helps you avoid surprises later.
Step 4: Contact Your Insurance Company
After documenting the damage and reviewing the policy, contact your insurer to open the claim. Most companies accept claims online, by phone or through a mobile app.
Have these ready when you file:
- Your policy number
- The date of the storm
- Photos, videos and notes documenting the damage
- Receipts for any temporary repairs
The insurer will then assign a claim number and schedule an inspection with an adjuster.
Step 5: Schedule a Professional Roof Inspection
The insurance company sends its own adjuster, but you should also have your own roofer at the inspection. An experienced roofer knows how to identify storm damage and can speak up for you.
Your roofer can:
- Find storm damage that is hard to see from the ground
- Document the damage with photos and measurements
- Explain which repairs the roof needs
Bringing a contractor in early can head off disputes and help you get a fair evaluation of the claim.
Step 6: Meet the Insurance Adjuster
The adjuster visits the property to inspect the damage and decide how much is covered. Their report directly shapes the outcome of the claim.
During the inspection:
- Walk the adjuster through the damage you documented
- Have your roofer there to point out damage and answer technical questions
- Ask the adjuster to note every affected area
Clear communication helps the adjuster understand the full scope of the damage. If there are discrepancies, your contractor can provide more evidence or clarification.
Step 7: Review the Claim Estimate
After the inspection, the insurer sends an estimate listing the approved repairs and their costs. It tells you what is covered and what you may have to pay out of pocket.
Read the estimate carefully and check that:
- Every damaged area you documented is listed
- The replacement materials match your existing roof
- Labor, tear-off and disposal are included
- Your deductible has been applied correctly
If the estimate doesn’t reflect the actual damage, your roofing contractor can help you request a revision or supplement so every needed repair is included.
Step 8: Begin Repairs with a Trusted Roofing Contractor
Repairs can start once the claim is approved. Hire a qualified, experienced roofing contractor so the work is done well and lasts.
A professional contractor:
- Carries out the repairs the insurer approved
- Uses materials that match or improve on the originals
- Pulls the permits the work requires
- Documents the finished work for the insurer
A reputable company does the work correctly and restores the roof to its original condition or better.
Step 9: Understand Payments and Final Settlement
Insurers usually pay claims in stages. The first payment may cover part of the repairs, and the insurer releases the balance after the work is finished.
Be sure to:
- Keep track of each payment and what it covers
- Save invoices and receipts for all repair work
- Send the insurer proof that the work is finished if it requires one before the final payment
Knowing how the payments are structured avoids confusion at the end of the project.
Common Claim Mistakes to Avoid
Filing a roof claim can be complicated, and some mistakes delay or reduce the payout. Avoid these:
- Waiting too long to report the damage
- Skipping photos and other documentation
- Making major repairs before the adjuster inspects the roof
- Throwing away damaged materials before they are documented
- Accepting an estimate without comparing it with the damage
Avoiding them improves your chances of a successful claim and timely repairs.
Why Professional Guidance Helps
A roof insurance claim takes documentation, communication and technical knowledge. A roofing contractor supports the process with accurate assessments, supporting records and expert advice.
Storm damage in Florida is often worse than it looks. An experienced roofer makes sure every problem gets addressed so it doesn’t cause trouble later.
Protecting the Roof After Repairs
Once the claim is settled and repairs are done, keep up with maintenance and inspections to prevent future damage.
Regular inspections catch problems early, and proper maintenance extends the life of the roof. Preventive care lowers the chance of future claims and unexpected expenses.
Storm Damage Help From Apex Roofing Solutions
Apex Roofing Solutions starts every storm damage job with a detailed inspection that identifies all areas of concern and documents them for the insurance claim. The team works with property owners and insurance adjusters through each step of the process.
Services range from emergency repairs to full roof restoration. Apex Roofing Solutions knows Florida’s climate and building requirements and completes repairs that prepare the roof for future storms.